Belt drive garage door opener installs fail in the same three places every time. The door was never balanced before the old unit came down. The rail got assembled on the floor and then forced into place with the trolley already riding on it. And the safety reverse never got tested after the first close, because the installer was tired and it was already dark outside.
I have fixed all three in Tulsa, usually within a week of somebody's Saturday project. The opener is rarely the problem. The install is.
This guide is the version I would hand a neighbor: what to check before you spend anything, which two openers I would put on my own ceiling, and the step order that keeps you off the ladder twice. If you take one thing from it, take the door balance check. A belt drive garage door opener lifting a door with tired springs will chew itself up in a year no matter what you paid for the box.
Why you should trust me
I am Dale. Twelve years as an HVAC installer, then handyman work full time out of Tulsa, and garage door openers became the specialty because I was already up on the ladder for the furnace. I have replaced more than 200 openers for neighbors and clients.
I keep a drawer of the parts that failed, each one labeled with the date and the opener that produced it. Nylon gears chewed up by a rail that was never centered over the door. Photo-eyes that went blind every afternoon when the sun came around the corner of the house. A chain that snapped on the first hard freeze of the year. Two belts that outlived the openers they shipped with.
I do not sell openers and I am not paid by a brand. When I tell you the motor is the least important part of the box, it is because the parts in that drawer came off openers with perfectly healthy motors.
How I picked these two
I do not run a lab, so I am not going to hand you a chart of decibel readings I did not take. What I go by is what shows up on a teardown and what shows up on a callback.
Four things decide whether an opener lasts five years or fifteen: the rail, the belt, the gear material, and whether the manufacturer still sells parts when something wears out. Chamberlain and LiftMaster own the market for a reason, and it is not the app. It is that you can order a gear kit or a logic board in year nine instead of waiting three weeks on a slow boat for a part that may not fit.
Both openers below are belt drive, and that is not an accident. If there is a bedroom above your garage, belt drive is the whole argument. The price gap between belt and chain has closed to almost nothing, and the belt buys your family their sleep. Chain is still fine for a detached garage or a shop where nobody sleeps within earshot.
Both are also current models with a track record long enough that the install traps are known and documented. That matters more than any spec sheet. A brand new mechanism with no parts history is a gamble I do not take with a client's money.
Before you buy: the door balance check
Do this before you order anything. It takes five minutes and it decides whether the rest of the job is worth starting.
Pull the release cord so the opener is disconnected from the door. Lift the door by hand to about waist height and let go. A properly balanced door stays right where you left it. If it slides down, the springs are weak. If it floats up, they are wound too tight. Either way, stop.
Call a pro for springs. I will not give spring advice beyond that sentence. Torsion springs hold enough stored energy to kill you, and this is the one part of the system where the DIY cost is measured in funerals. Once the door is balanced, the rest of the job is genuinely homeowner work.
While the door is disconnected, check the rest of it. Rollers should spin freely and not wobble in the hinges. The track should be plumb and parallel, with no dents where somebody backed into it. The bottom seal should touch the floor across the full width. A door that drags on one side will pull the opener's trolley off center, and that is where stripped gears come from.
If the door is heavy, binds, or grinds, fix that first. No opener fixes a bad door.
The two openers I would put on my own ceiling
These are the two I recommend for a house with living space above the garage. One is the value pick, one is the pick for the person who wants the camera and the app polish.
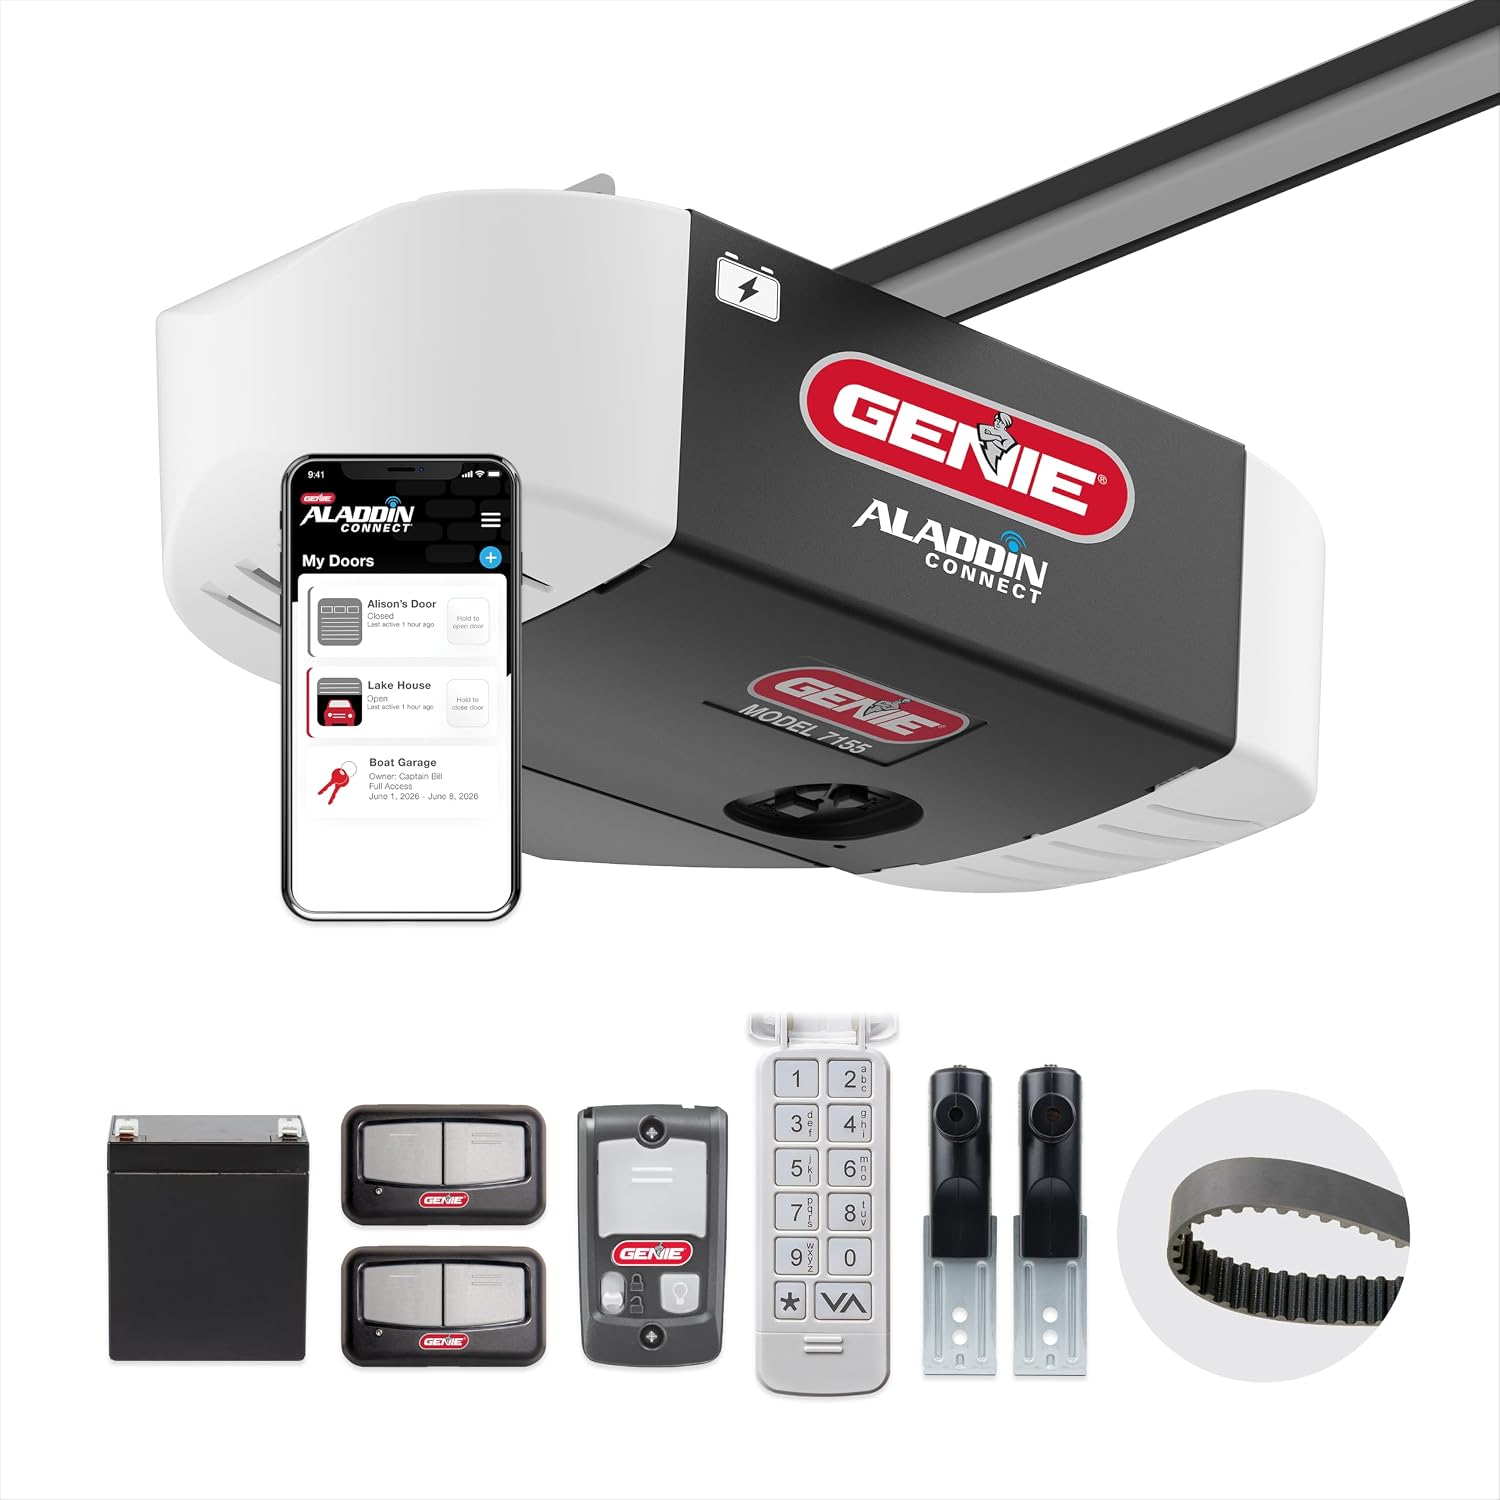
Our pick: Genie StealthDrive Connect Smart Belt Drive Garage Door Opener, 7155-TKV
 Visit on Amazon →
This is the one I put on most ceilings. Belt drive, so the noise stays in the garage instead of traveling up through the joists into the room above. Smart connectivity, which I care about less than most people do, but it is genuinely useful for the "did I leave the door open" question when you are already twenty minutes down the highway.
Two things I tell every buyer. First, confirm on the listing whether the kit you are ordering includes the battery backup, because in Tulsa that is the feature I ask about before anything else. When the power goes out in a storm, your car is the emergency exit, and a door you can only open by hand is a door you have to walk out into the weather to reach. Second, read the manual for the travel limit procedure before you start. Openers that forget their limits after a power blip are one of my top three pet peeves, and the fix is almost always that the limits were set sloppily the first time, not that the unit is defective.
Flaws but not dealbreakers: The smart module wants a 2.4 GHz network, and a mesh system that broadcasts one combined network name is where most pairing calls come from. If your phone cannot find it, split the band on the router before you call support.
Anyone with a bedroom above the garage who wants quiet operation and a door they can check from the office will be happy here.
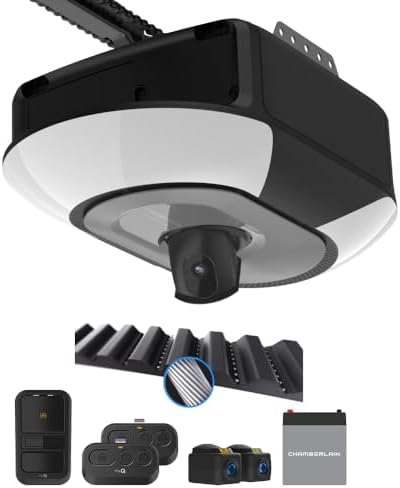
Upgrade pick: Chamberlain Belt Drive myQ Garage Door Opener, 1-1/4HP, Adjustable Camera
 Visit on Amazon →
This is the one for the household that wants to see the bay, not just control it. The adjustable camera is the reason to step up. It points at the opening, so you get a look at whether the door is actually closed and whether anything is sitting under it, which is a different question than whether the app says the door is down.
The 1-1/4HP motor and the belt drive handle a heavier insulated door without straining, which is the combination I want on a two-car door with a bedroom over it. Chamberlain parts availability is the best in the business, and that is the quiet reason I trust the brand on a fifteen-year horizon.
Be honest with yourself about the app side, though. Every myQ support call I get is a cloud login problem, not a hardware problem. If you want local control with no account and no internet, this is not that product, and you should know it going in. If you want remote access from anywhere and a camera feed, this is exactly that product.
Flaws but not dealbreakers: The camera needs real Wi-Fi signal at the door, and a garage at the far end of the house is often the dead zone. Check your signal in the bay with your phone before you mount anything.
Anyone who travels, rents the house out, or just wants eyes on the door will get their money's worth.
The install workflow, in order
This is the sequence I use. Follow the order and you will not be on the ladder twice.
Step one: Clear the bay and stage your tools. Move the cars. Lay a moving blanket under the work area so dropped nuts do not disappear into the concrete. You want a stepladder, a socket set, a drill, a level, and a second person for the rail.
Step two: Balance and test the door. Pull the release, run the balance check above, and open and close the door by hand a few times. It should move with one hand and stay put when you let go.
Step three: Kill the power. Unplug the old opener and shut the breaker that feeds the garage ceiling outlet. Do not trust the wall switch. This is a habit worth having even when the job looks simple.
Step four: Take the old unit down, and keep the bracket. Save the header bracket and the angle iron if they are solid. Reusing a bracket that is already square and anchored saves an hour. If the old bracket is rusted or bent, replace it.
Step five: Assemble the rail flat on the floor. This is the trap that catches most DIY installs. Lay the rail sections out straight, seat the coupler fully, and tighten it before the rail goes up. A rail that is assembled crooked will bind the trolley, and a binding trolley is what strips gears. Attach the trolley and the belt per the manual, then leave the belt tension for after the rail is hung.
Step six: Hang the rail centered over the door. Use the angle iron and perforated hanger straps to the ceiling joists, and put a level on the rail. It should be level front to back and centered side to side on the door. This is the step that decides whether the opener is quiet or whether it growls for the next decade.
Step seven: Mount the header bracket and the door bracket. The header bracket goes above the door, centered. The door bracket goes on the top section, into a stile or reinforced with the hardware in the kit, never into the thin skin of the panel alone. A bracket pulled out of a panel is a callback I have made more than once.
Step eight: Connect the arm and set travel limits. Attach the emergency release cord first, then the arm. Run the open limit, then the close limit, following the manual's procedure exactly. Do not guess. Set the limits with the door connected so you can watch the travel.
Step nine: Test the safety reverse, twice. Lay a 2x4 flat on the floor in the door's path and close the door. It must reverse on contact. Then block the photo-eye beam with your leg and close the door. It must reverse without touching anything. If the photo-eyes are pointed at a spot where afternoon sun hits them, move them or shade them, because a blinded sensor is a door that will not close and a homeowner who thinks the opener is broken.
Step ten: Pair the remotes, the keypad, and the app last. Do the hardware first and the network last, so a Wi-Fi problem never gets confused with a travel limit problem. Then run the safety reverse test one more time, because pairing changes nothing and you should still verify it.
The competition and why it lost
Chain drive is not a bad product. It is a loud one. It was the default for decades because it was cheaper, and the price gap has narrowed to the point where the only reasons left are a detached garage or a tight budget. If nobody sleeps above the garage, buy the chain and put the savings into a better door.
Screw drive is a niche, and it is a fine niche, but parts and service are thinner than belt or chain in most markets.
The openers I actively steer people away from are the ones with plastic gears sold as heavy duty. I have pulled those gears out of units that were two years old and lifting a standard door. The box says heavy duty. The gear says otherwise. That is the single most common way a cheap opener fails early.
Two things this guide does not cover. Commercial doors are a different duty cycle and a different conversation. And spring replacement stays with a licensed professional, full stop.
What this all costs
Budget three to five hours for a first install where you are replacing an opener and reusing the existing wiring and bracket. If the outlet is already in the ceiling and the header bracket is sound, an experienced pair of hands can do it in two to three.
A pro install runs $150 to $250 in my market, and that number is mostly labor, not parts. If you are handy, the install is genuinely doable and the savings are real. Just know that the majority of the DIY installs I get called out to have the rail wrong, and the repair is usually the same as the install would have been.
Add a little for the small stuff: fresh photo-eye brackets if yours are brittle, a new wall button if the old one is yellowed and sticking, and a spare remote for the car nobody drives. Then decide on battery backup, because in tornado country it is the feature that turns a stuck car into a car that leaves.
Do the balance check, hang the rail straight, and test the reverse twice. That is the whole job, and it is the difference between an opener that lasts fifteen years and one that ends up in my drawer of failed parts with a date on it.